
Milk Buns
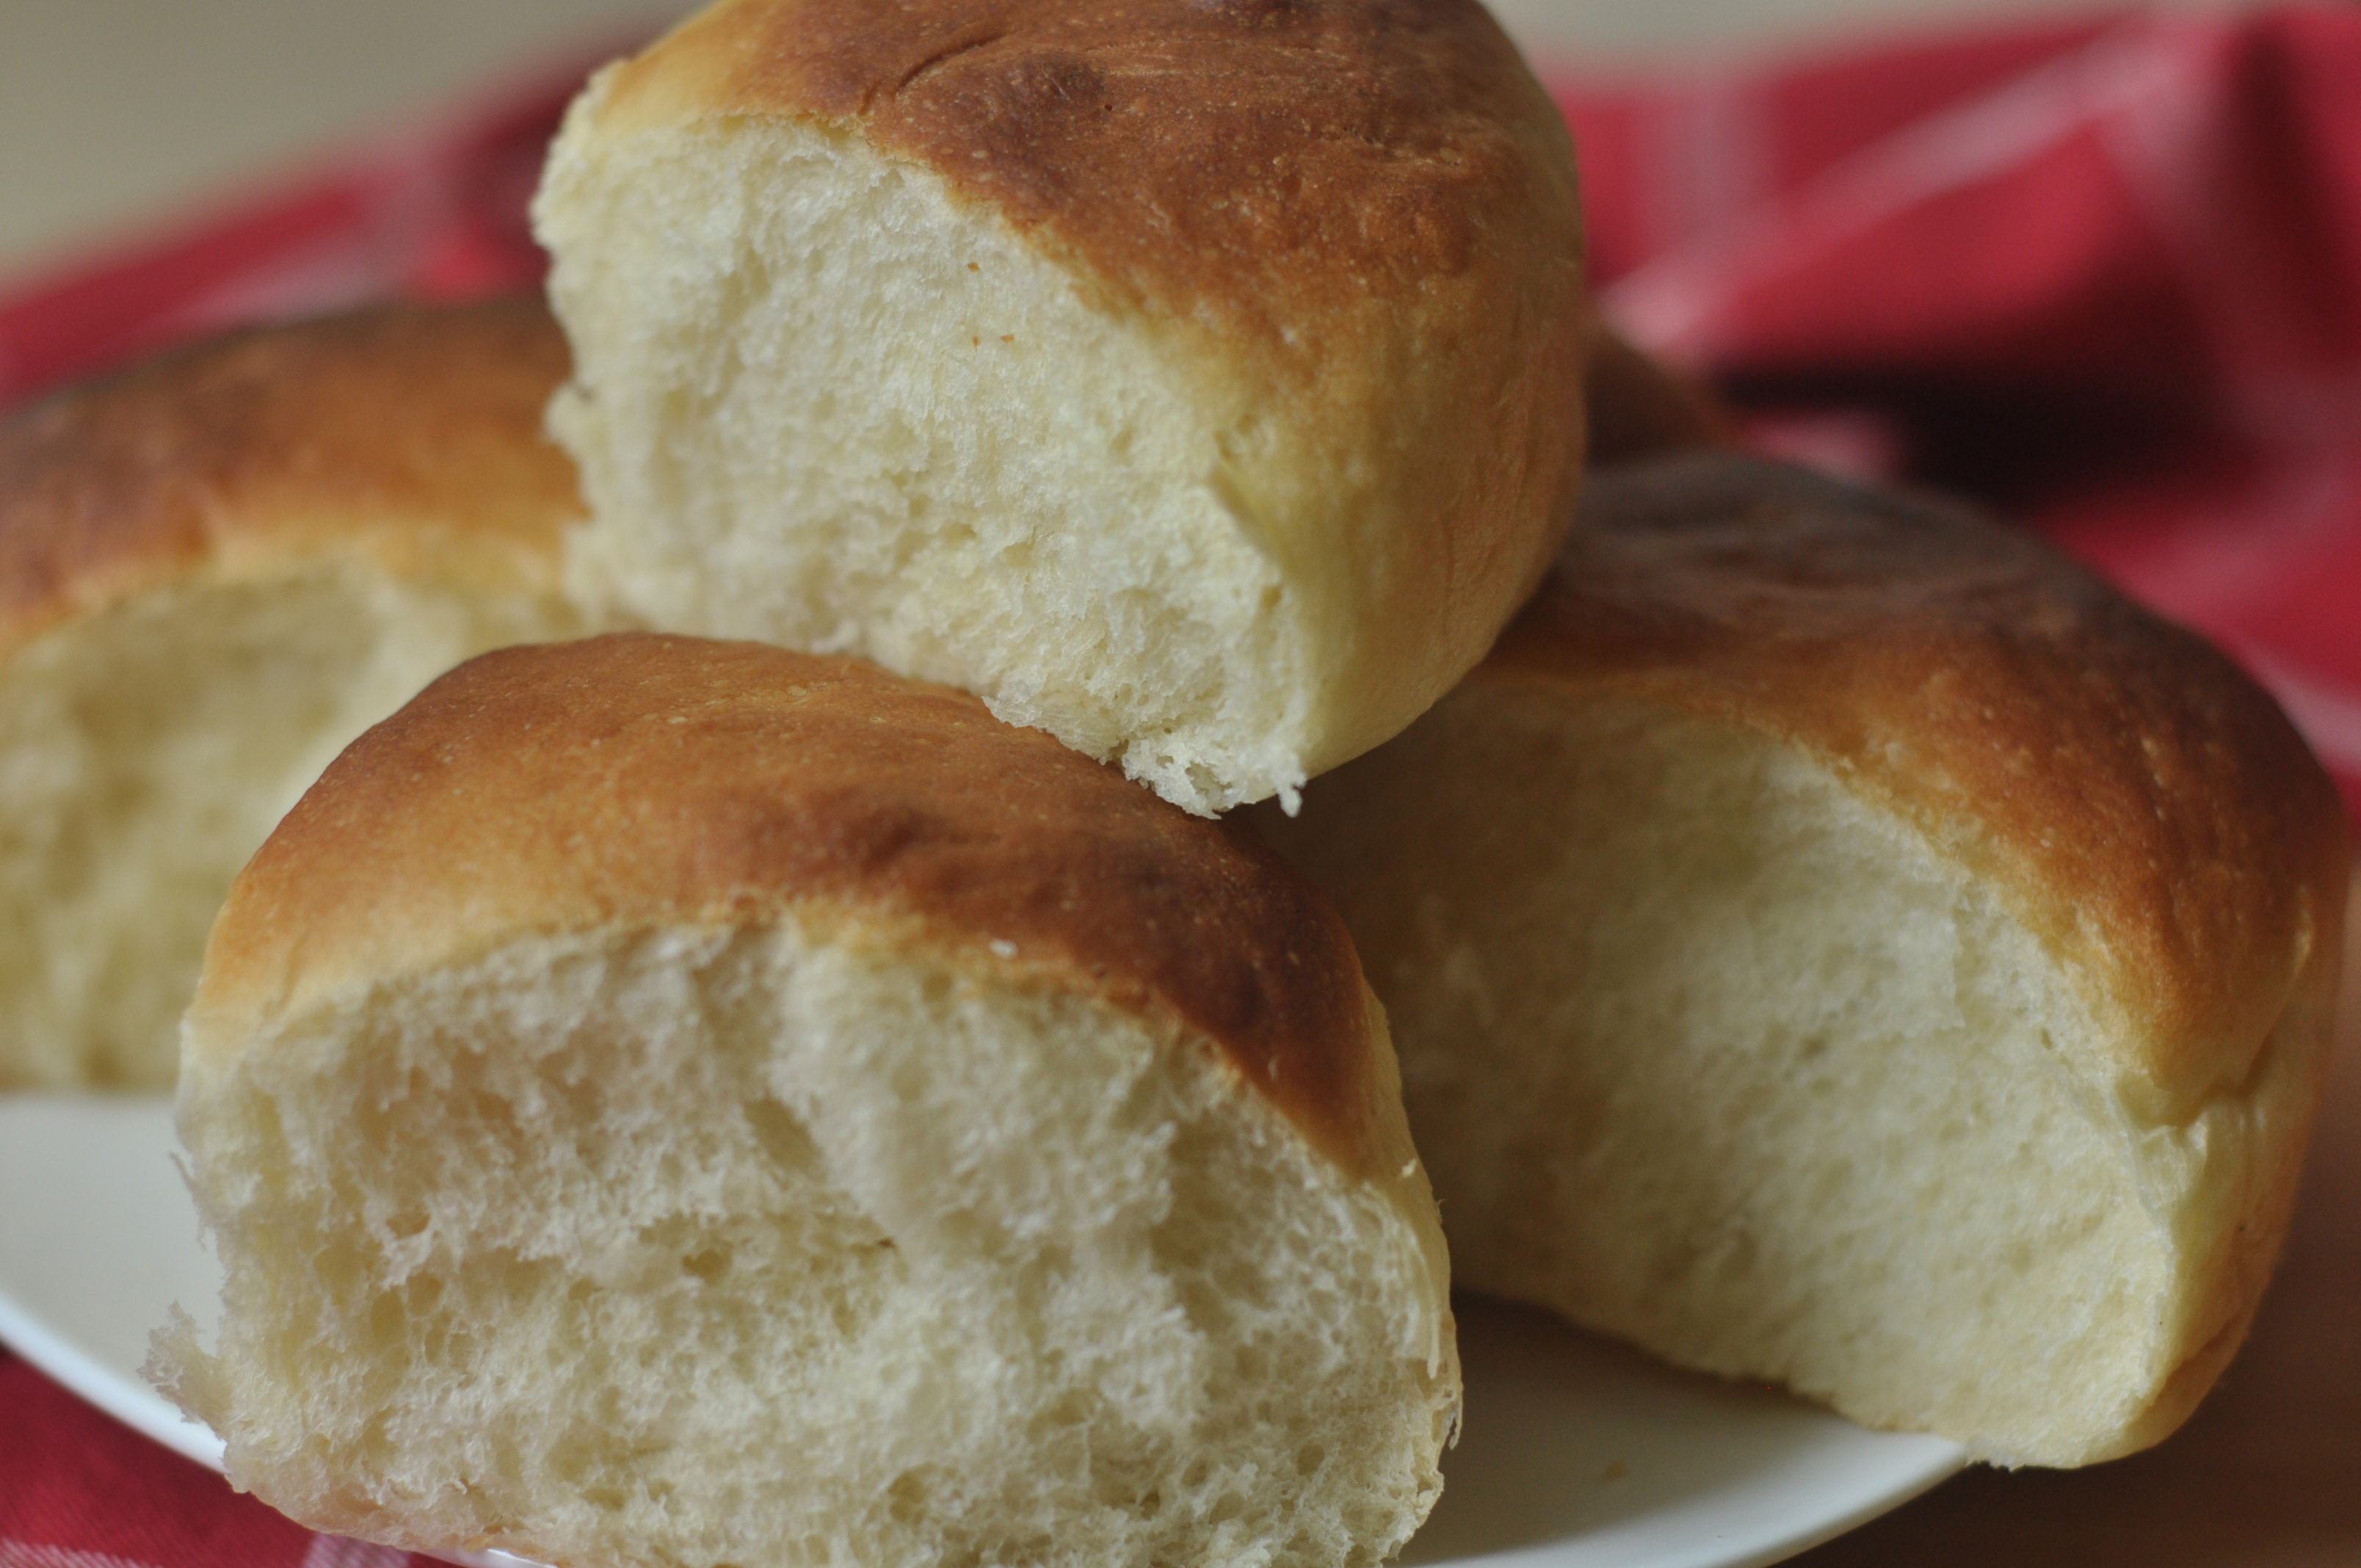
We’ve been receiving many requests for a ‘banas’ recipe similar to the ones you get from Alcyon and make ‘cream jehi banas’ with. The closest thing we found to those yellow little Alcyon delights are milk buns, and let us tell you straight up, making buns is tough, especially for people us who are inexperienced like us.
In the quest for coming up with this recipe, we’ve ruined quite a few batches and somehow even managed to get one burned. We are really thankful to all those who’ve shared milk bun recipes online. Especially Alexis deBoschnek, Cookist Wow, and How Tasty because from them we picked up some really helpful tips.
One of those tips is using the Japanese Tangzhong method. In the method, a small amount of flour is cooked in a small amount of liquid until the flour is hydrated and this is added to the dough. The method really does yield soft and pillowy buns; ours when we finally started nailing it, came out so soft that when pressed and released they were springing right back.
Ingredients:
- 2 tbsp. flour (for the Tangzhong; level tablespoon, not heaped)
- 3 tbsp. water (for the Tangzhong)
- 3 tbsp. whole milk (for the Tangzhong)
- 3 cups flour
- 4 tbsp. sugar
- 1 tbsp. instant yeast (level tablespoon, not heaped)
- 2 ½ tbsp. milk powder (heaped)
- 1 cup warm whole milk
- 3 tbsp. melted butter (at room temperature)
- 1 egg
- 1 tsp. salt
- 2 tbsp. flour (to use while kneading)
- 1 tbsp. oil (for greasing the bowl)
- 1 tbsp. oil (for greasing the tray)
- 3 tbsp. whole milk (for brushing on the top of the buns)
Instructions:
- First we are going to make the Tangzhong. To do that, add the flour, water and milk to a small pot. On low heat and stirring continuously, cook the mixture until the ingredients are well combined. This is going to happen in like half a minute.
- Remove the Tangzhong from the pot and place it in a container with a tight fitting lid. We now need to cool down the Tangzhong, at least to room temperature, before we combine it with the other ingredients. So keep it in the fridge while you prepare the rest of the ingredients.
- Combine the flour, sugar, yeast and milk powder in a large bowl and then set it aside.
- Add the warm milk, melted butter and egg to another bowl. Take the Tangzhong out of the fridge and add that in. Whisk everything together until well combined. The Tangzhong might be quite sticky depending on the time it’s spent in the fridge, so you’d really have to whisk it until it’s fully dissolved. Set it aside.
- Now add the salt to the flour mixture and give it a good mix. The reason we delayed adding the salt is because sometimes, not always, salt can interfere with the yeast.
- Then pour the milk, butter and egg mixture into the flour mixture. Do this gradually while mixing so that you can hydrate the flour a bit evenly.
- Mix either by using a spatula or your fingers until the sides of the bowl are mostly clean and everything comes together in a shaggy dough.
- Now it’s time to knead it. First dust your surface with a little bit of flour and place the dough on it and knead until the dough is smooth and is no longer sticking to the surface. This is so much easier said than done. It takes quite a bit of elbow grease and for us the kneading took around 30 to 40 minutes. Also be warned, the dough is really sticky at the start. But just keep going and you’d notice it gets better as you keep working on it. Also, you’d be tempted to add in more flour, but the maximum amount of flour you can use during the kneading is 2 tablespoons.
- Grease a large bowl with the oil. Make sure you cover the bottom and the sides well so that the dough doesn’t stick. Place the dough in the bowl and cover the bowl well with a clean cloth. If you have cling wrap, you can use that instead too. Keep in a dark place until the dough doubles in size. An hour should do it.
- Grease the tray you’d be using for baking. Make sure you cover the bottom and the sides well with the oil. Set it aside.
- Once the dough doubles in size, remove it from the bowl and place it on a clean surface.
- We now have to cut the dough into equal portions and this depends on the tray you are going to use for baking. We’ve made this in a 12 inch square tray and that time, we rolled the dough using a rolling pin and then cut it into 9 equal parts using a knife. Another time we made the buns in two identical circular trays that had 7 inches in diameter. That time, rather than using a rolling pin, we brought the dough into a long cylindrical shape and then used a knife to divide it into 10 equal portions. Anyway, cut the dough into equal portions depending on the tray you’d be using. When making a decision about this, do remember the buns are going to puff up quite a bit as they bake.
- Using your fingers and by rolling between your palms, shape a portion of the dough into a ball. Place it on the greased tray. Keep doing this until you run out of dough.
- Cover the tray with a clean cloth or cling wrap and let it double in size again by keeping it in a dark place. For us this took half an hour.
- Preheat the oven at 175 degrees Celcius. (Preheating means keeping the oven on at the said temperature at least 10 minutes before baking.)
- Brush the milk on top of the buns. This is going to give the tops a nice golden colour.
- Place the tray on the middle rack of the preheated oven and bake until the tops are golden brown. For us this took 25 minutes. But do remember that different ovens cook differently.
- Once baked, remove from the oven and let the buns cool in the tray for 10 minutes before you take them out.
Interviews

Eating Out
Curry Recipes
Hedhikaa Recipes
Dessert Recipes
Chicken Recipes
Rice Recipes
About Lonumedhu
Lonumedhu is about eating great food right here in the Maldives.
Our easy to follow recipes use locally available ingredients.
In our blog you will find food news, interviews with chefs and cooks, useful information about eating out and other foodie reads.
Contacts
© Lonumedhu.com 2017-2026. All rights reserved. No part of this website may be reproduced without the written permission of the publisher.
Advertisers
Lonumedhu.com has partnered with Qualia Pvt Ltd, a publishing & marketing agency, for its desktop and mobile advertising.
Advertising enquiries should be directed to (960) 987 4396 or marketing.sales@lonumedhu.com.