
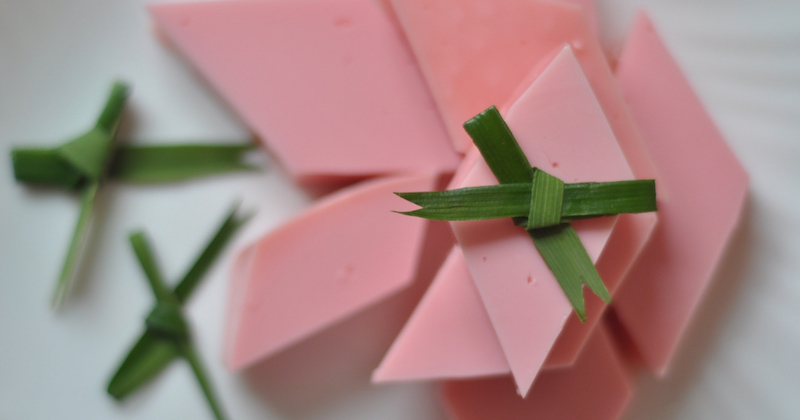
Kashikeyo Cake
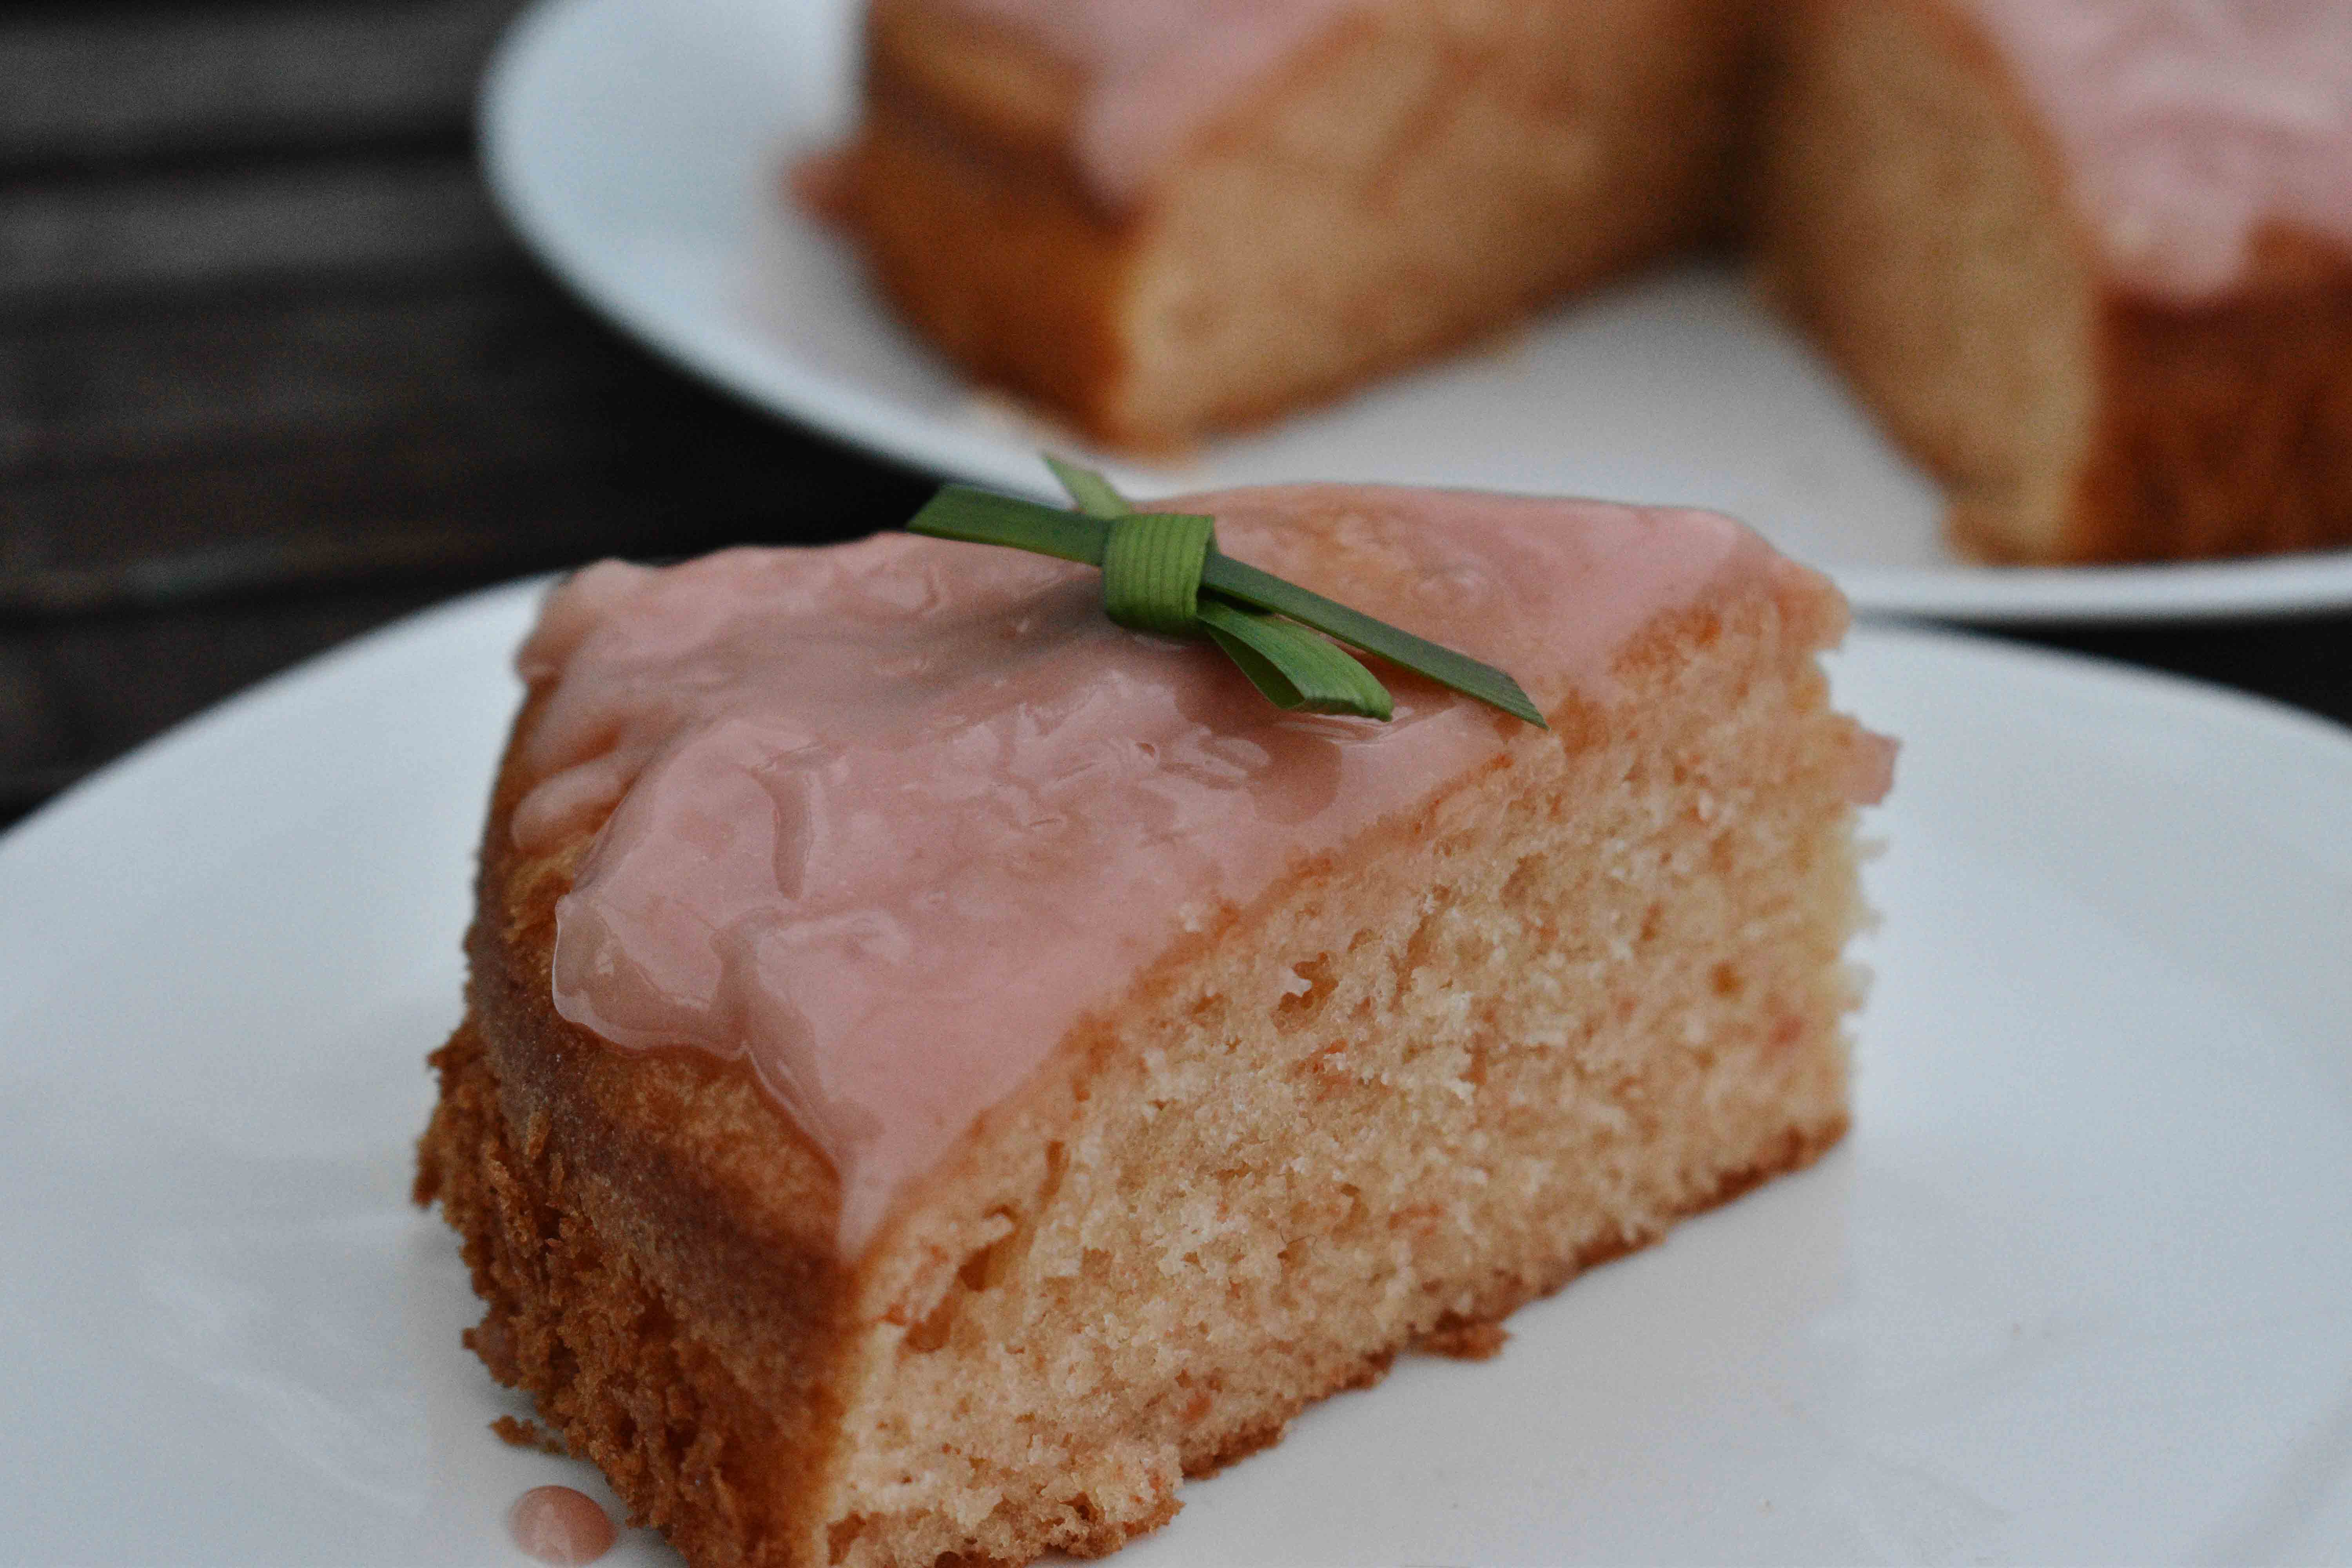
This is a simple and moist kashikeyo (screwpine fruit) flavoured cake with a simple kashikeyo topping. Hope you guys enjoy it. And if this is your first time peeling and slicing kashikeyo, don’t worry about getting perfect slices. If the Maldivian method of gripping the kashikeyo with one hand and using a small knife to slice with the other doesn't work for you, try holding it down vertically on a cutting board and keep gently slicing down while rotating it. Also, if you are wondering about how many kashikeyos to get, 10 or 11 would do.
Ingredients for the cake:
- 1 cup flour
- 2 ½ tsp. baking powder
- ¼ tsp. salt
- 3 cups sliced kashikeyo (screwpine)
- 1 ½ cups milk
- 2 eggs
- ½ cup oil
- 2/3 cups sugar
Ingredients for the topping
- 3 cups water
- 6 inches pandan
- 3 cardamom pods
- 1 cup sliced kashikeyo
- 2/3 cup condensed milk
- 2 tbsp. corn flour
- ¼ cup water
- 1/2 tsp. vanilla essence
- 2-3 drops red food colouring
Instructions:
- Rub 2 teaspoons of oil on the bottom and sides of a 7 inch diameter cake tin. You can just use your fingers for this, after thoroughly washing them of course. Then dust the tin with around a tablespoon of plain flour. You can just place the flour in the middle of the tin and just gently tap while turning the tin this way and that to have it distributed evenly at the bottom. To dust the sides, hold the tin vertically, place the flour on the side, and then just turn it like a wheel while tapping. All of this might sound confusing, but you’ll find it’s quite simple when you actually do it.
- Sift the flour, baking powder and salt into a bowl and set it aside.
- Add the sliced kashikeyo and milk to your blender. Blend until it’s well combined.
- Strain the mixture into a bowl and set it aside. You should be able to get 2/3 cup.
- Beat together the eggs, sugar and oil until you get a creamy texture. For this you can use a stand mixer, hand held electric mixer, or even your juice blender. If you are using your juice blender, running it for around 2 minutes on low would do. You can also beat it by hand using a fork. If using a fork you’ll have to go at it for around 10 minutes.
- If you used the blender, transfer the egg mixture to a bowl. If not, you can just go on to the step below.
- Add around 4 tablespoons of the flour mixture to the egg mixture and mix until the flour is fully incorporated. You can just use a spoon for the mixing and do it gently being careful not to over mix.
- Then add in around 2 tablespoons of the kashikeyo milk mixture and mix until combined, once again being careful not to over mix.
- Repeat steps 7 & 8 until you run out of flour and kashikeyo milk.
- Gently pour the mixture into the cake pan that you prepared before.
- Place the tin on the middle rack of an oven that was preheated at 180 degrees Celsius and bake until the top is golden brown and a toothpick inserted into the center comes out clean. For us this took 30 minutes. But oven temperatures differ, so keep an eye on it, especially towards the end and make the necessary adjustments.
- When the cake is baked, take it out from the oven and let it cool down in the pan for around 10 minutes. Then remove it from the pan and let it cool down completely.
- You can start preparing the topping while the cake is baking or while it’s cooling down. First, add the water, pandan (raanbaa) and cardamom pods to a pot and bring the mixture to a boil.
- Then add the sliced kashikeyo and put the lid on. Lower the heat and let the mixture simmer for 20 minutes.
- Strain the mixture into another pot and mix in the condensed milk.
- Cook on low heat for 5 minutes. Keep stirring.
- Dissolve the corn flour in water and then add it to the pot.
- Keep mixing and cook until the mixture thickens enough to coat the back of a spoon. It’s going to take something like 15 minutes and you’ll have to keep stirring to avoid lumps.
- Add the vanilla essence and the food colouring and give it a final stir.
- Once the cake is at room temperature, pour the topping over it. Smoothen it a bit and that’s it.
Interviews

Eating Out
Curry Recipes
Hedhikaa Recipes
Dessert Recipes
Chicken Recipes
Rice Recipes
About Lonumedhu
Lonumedhu is about eating great food right here in the Maldives.
Our easy to follow recipes use locally available ingredients.
In our blog you will find food news, interviews with chefs and cooks, useful information about eating out and other foodie reads.
Contacts
© Lonumedhu.com 2017-2026. All rights reserved. No part of this website may be reproduced without the written permission of the publisher.
Advertisers
Lonumedhu.com has partnered with Qualia Pvt Ltd, a publishing & marketing agency, for its desktop and mobile advertising.
Advertising enquiries should be directed to (960) 987 4396 or marketing.sales@lonumedhu.com.