
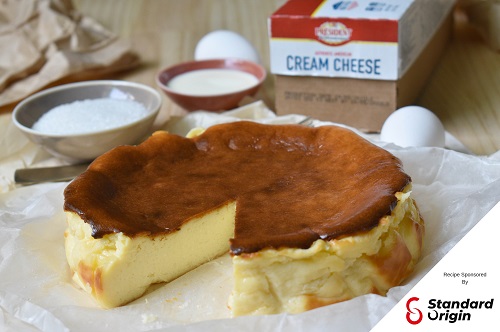
Basque Burnt Cheesecake
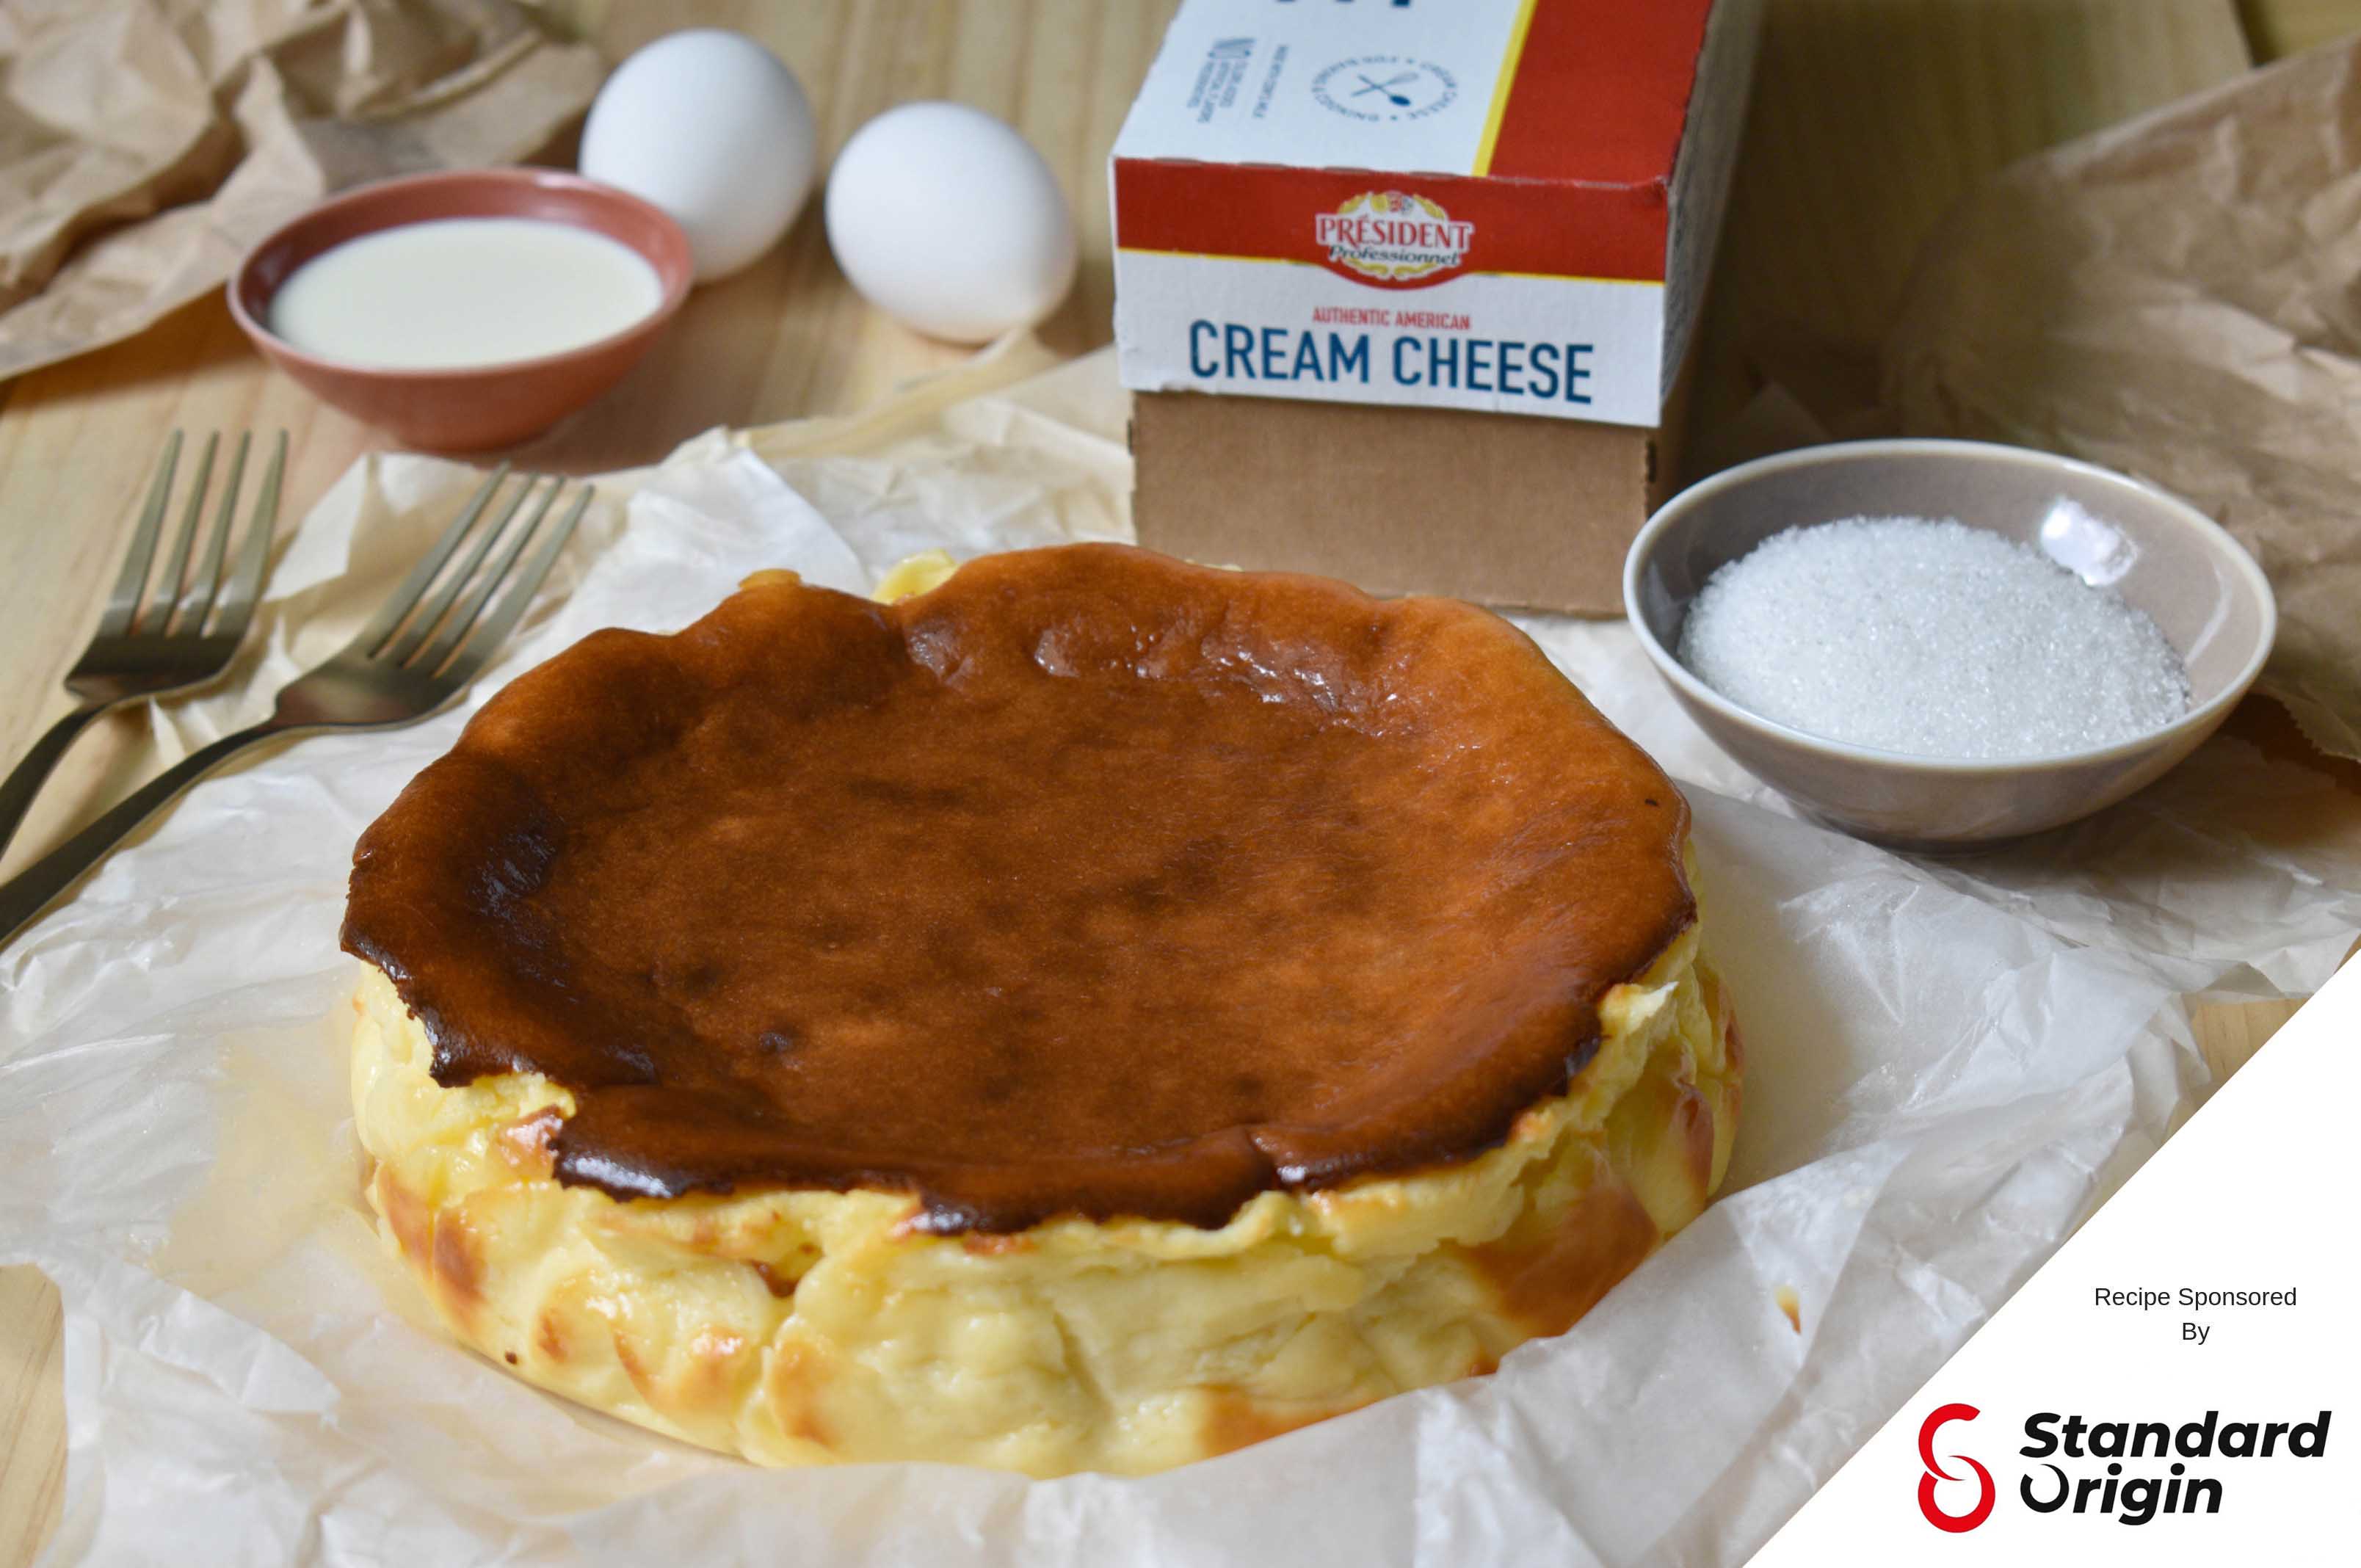
You’ve probably been seeing images of Basque burnt cheesecakes on Instagram a lot during the last few years. The popularity of the cake is understandable; its signature burnt top and cracked sides makes it rustic, charming and really photogenic; and that’s not all, cut into the cake and you’ll find the inside irresistibly creamy and light.
Among all the things about the Basque cheesecake, what might surprise you the most would probably be the fact that they are ridiculously easy to make and needs only a handful of ingredients: sugar, eggs, whipping or heavy cream and of course cream cheese.

How good a Basque burnt cheesecake tastes is really dependent on the quality of the cream cheese in it and so, for this recipe we used the premium quality President Professionnel Authentic American Cream Cheese, which we got from one of our partners S&O (Standard & Origin). The cheese has a lovely smooth and creamy texture and is made specifically for baking and cooking.
Once you have the ingredients, your cake is just a few steps away. Just follow our instructions carefully paying special attention to the little tips we’ve left for you here and there and it’s really likely that you’ll end up with a cake you’ll love making time and time again.
Ingredients:
- 500 g President Professionnel Authentic American Cream Cheese
- ¾ cup sugar (1 cup if you want it sweeter)
- 4 eggs
- 1 cup whipping cream
- 1 ½ tbsp. flour
- 1/4 tsp. salt
- 1 tsp. vanilla essence
Instructions:
- Preheat oven to 230 degrees Celsius (you’ll have to preheat the oven at least 10 minutes before baking. Since Basque burnt cheesecakes are baked quickly at high heat, you can preheat the oven for longer too).
- Line an 8 inch round cake pan with baking paper. Leave an overhang of around 2 inches (if you are worried about the cake mixture leaking into the pan while in the oven, you can line it with two sheets of baking paper making sure the longer sides of the two sheets are opposite each other, that way the whole pan is covered).
- Add the cream cheese to your mixing bowl and mix until it looks creamy (The cream cheese needs to be at room temperature so be sure to take it out of the fridge beforehand. You can use your stand mixer or electric handheld mixer for this recipe and you can even do it by hand if you don’t mind all the mixing. Use the pedal attachment if you are using the stand mixer. When using the handheld mixer, the cream cheese might stick to the whisk attachment a little at the start, especially if the cheese is still cold. A tablespoon can help you clean the whisk attachment and it’ll stop sticking once you start adding the other ingredients).
- Add the sugar and mix until combined. There shouldn’t be aby lumps when you are done. Remember to scrape down the sides of the mixing bowl periodically for even mixing; not just with the sugar, but throughout the whole mixing process.
- Add the eggs, one at a time, mixing until just combined after every addition (eggs need to be at room temperature).
- Next add the whipping cream and mix until combined (you can use heavy cream or heavy whipping cream too. The more the fat content, the creamier this cake gets. Also, just like the cream cheese and the eggs, the cream needs to be at room temperature too).
- Sift the flour and salt into the mixing bowl and mix until fully combined. (To avoid too many air bubbles, you can do this part and the next part gently by hand.)
- Finally add the vanilla essence and mix until combined.
- Pour the mixture into the cake pan you prepared earlier and smooth out the top using a spatula. Tap the pan on the counter a few times to get rid of air bubbles if any.
- Place the cake pan on the middle rack of the preheated oven and bake until the top is caramelized while the center is still creamy; the sides should be slightly caramelized too. Ours was done in 40 minutes. (However, do keep in mind that oven temperatures differ, so you’ll have to find out what works for you. When you take the cake out of the oven and you give it a little shake the center should jiggle. The cake is going to rise a bit as it bakes, so don’t worry about that as it’s going to deflate as it cools. The cake can get dense and grainy if you bake it for too long so be careful about that. If the top of the cake doesn’t get brown in 40 minutes, you can try moving the pan to the top rack and baking with top heat only for an additional 5 minutes or until you see the top brown; keep a close eye as it can go from nicely caramelized to really burnt in a matter of seconds. You can also try sprinkling a tablespoon of sugar on top of the cake before you put it in the oven if you repeatedly have problems with the top.)
- Once the cake is baked, take the cake pan out of the oven. Let the cake cool down to room temperature while still in the pan. It’s going to deflate quite a lot as it cools.
- Then remove the cake from the pan and let it sit in the fridge for around 3 to 4 hours (you can keep it in the fridge for longer, like overnight too, and that makes this an ideal make ahead cake).
- You can serve the cake straight out of the fridge but we think it tastes better if you take it out of the fridge half an hour before serving.
Note: If you can’t find President Professionnel Authentic American Cream Cheese from a shop near you, contact 301 5533 or 301 5522.
Interviews

Eating Out

Curry Recipes

Hedhikaa Recipes
Dessert Recipes
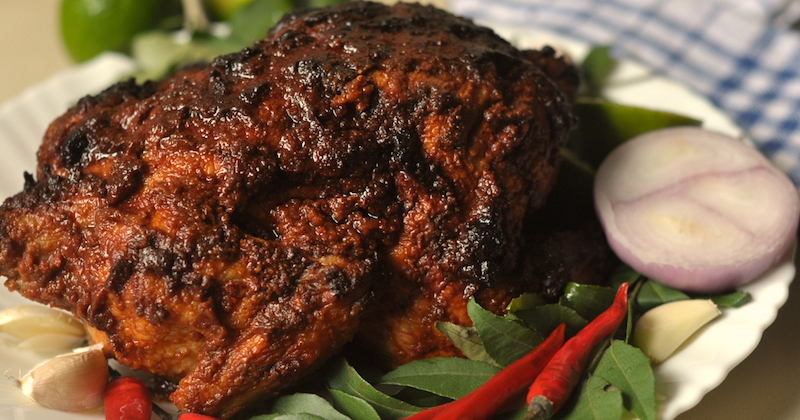
Chicken Recipes
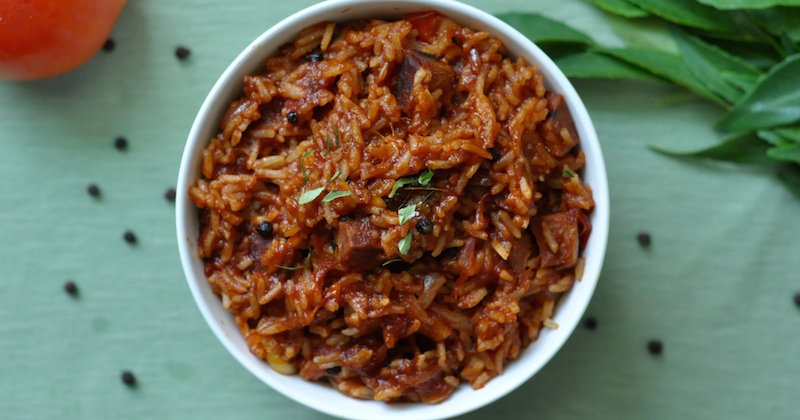
Rice Recipes
About Lonumedhu
Lonumedhu is about eating great food right here in the Maldives.
Our easy to follow recipes use locally available ingredients.
In our blog you will find food news, interviews with chefs and cooks, useful information about eating out and other foodie reads.
Contacts
© Lonumedhu.com 2017-2026. All rights reserved. No part of this website may be reproduced without the written permission of the publisher.
Advertisers
Lonumedhu.com has partnered with Qualia Pvt Ltd, a publishing & marketing agency, for its desktop and mobile advertising.
Advertising enquiries should be directed to (960) 987 4396 or marketing.sales@lonumedhu.com.